Getting Started
Quickstart
In this tutorial, you will discover Microcks mocking features by using a simple REST API sample. You will run Microcks on your local machine, load a sample provided by the Microcks team, explore the web user interface and interact with an API mock.
The easiest way to get started with Microcks is by using Docker or Podman with our ephemeral all-in-one Microcks distribution.
In your terminal, issue the following command—optionally replacing 8585 with another port of your choice if this one is not available:
docker run -p 8585:8080 -it --rm quay.io/microcks/microcks-uber:latest-native
This will pull and start the Uber container and set up a simple environment for you to use. You should see something like this in your terminal:
 .   ____          _            __ _ _
 /\\ / ___'_ __ _ _(_)_ __  __ _ \ \ \ \
( ( )\___ | '_ | '_| | '_ \/ _` | \ \ \ \
 \\/  ___)| |_)| | | | | || (_| |  ) ) ) )
  '  |____| .__|_| |_|_| |_\__, | / / / /
 =========|_|==============|___/=/_/_/_/

 :: Spring Boot ::               (v3.3.10)

20:25:08.589  INFO 1 --- [      main] i.g.microcks.MicrocksApplication         : Starting AOT-processed MicrocksApplication using Java 21.0.6 with PID 1 (/workspace/io.github.microcks.MicrocksApplication started by ? in /workspace)
20:25:08.589  INFO 1 --- [      main] i.g.microcks.MicrocksApplication         : The following 1 profile is active: "uber"
20:25:08.659  INFO 1 --- [      main] i.g.microcks.config.WebConfiguration     : Starting web application configuration, using profiles: [uber]
20:25:08.659  INFO 1 --- [      main] i.g.microcks.config.WebConfiguration     : Web application fully configured
[...]
20:25:08.719  INFO 1 --- [      main] i.g.m.util.grpc.GrpcServerStarter        : GRPC Server started on port 9090
20:25:08.727  INFO 1 --- [      main] i.g.m.config.AICopilotConfiguration      : AICopilot is disabled
20:25:08.795  INFO 1 --- [      main] i.g.m.config.SecurityConfiguration       : Starting security configuration for mocks
20:25:08.796  INFO 1 --- [      main] i.g.m.config.SecurityConfiguration       : Starting security configuration for APIs
20:25:08.796  INFO 1 --- [      main] i.g.m.config.SecurityConfiguration       : Keycloak is disabled, permitting all requests
20:25:08.824  INFO 1 --- [      main] i.g.m.config.MongoConfiguration          : Ensuring TTL index for ServiceState
20:25:08.826  INFO 1 --- [      main] i.g.microcks.MicrocksApplication         : Started MicrocksApplication in 0.256 seconds (process running for 0.261)
Open a new browser tab and navigate to the http://localhost:8585 endpoint—or another port of your choice to access Microcks.
Using Microcks
Now you are ready to use Microcks for deploying your own services and API mocks! But first, let’s take a look at the application home screen and introduce the main concepts. Using the application URL after installation, you should land on this page, which has two main entry points: APIs | Services and Importers.
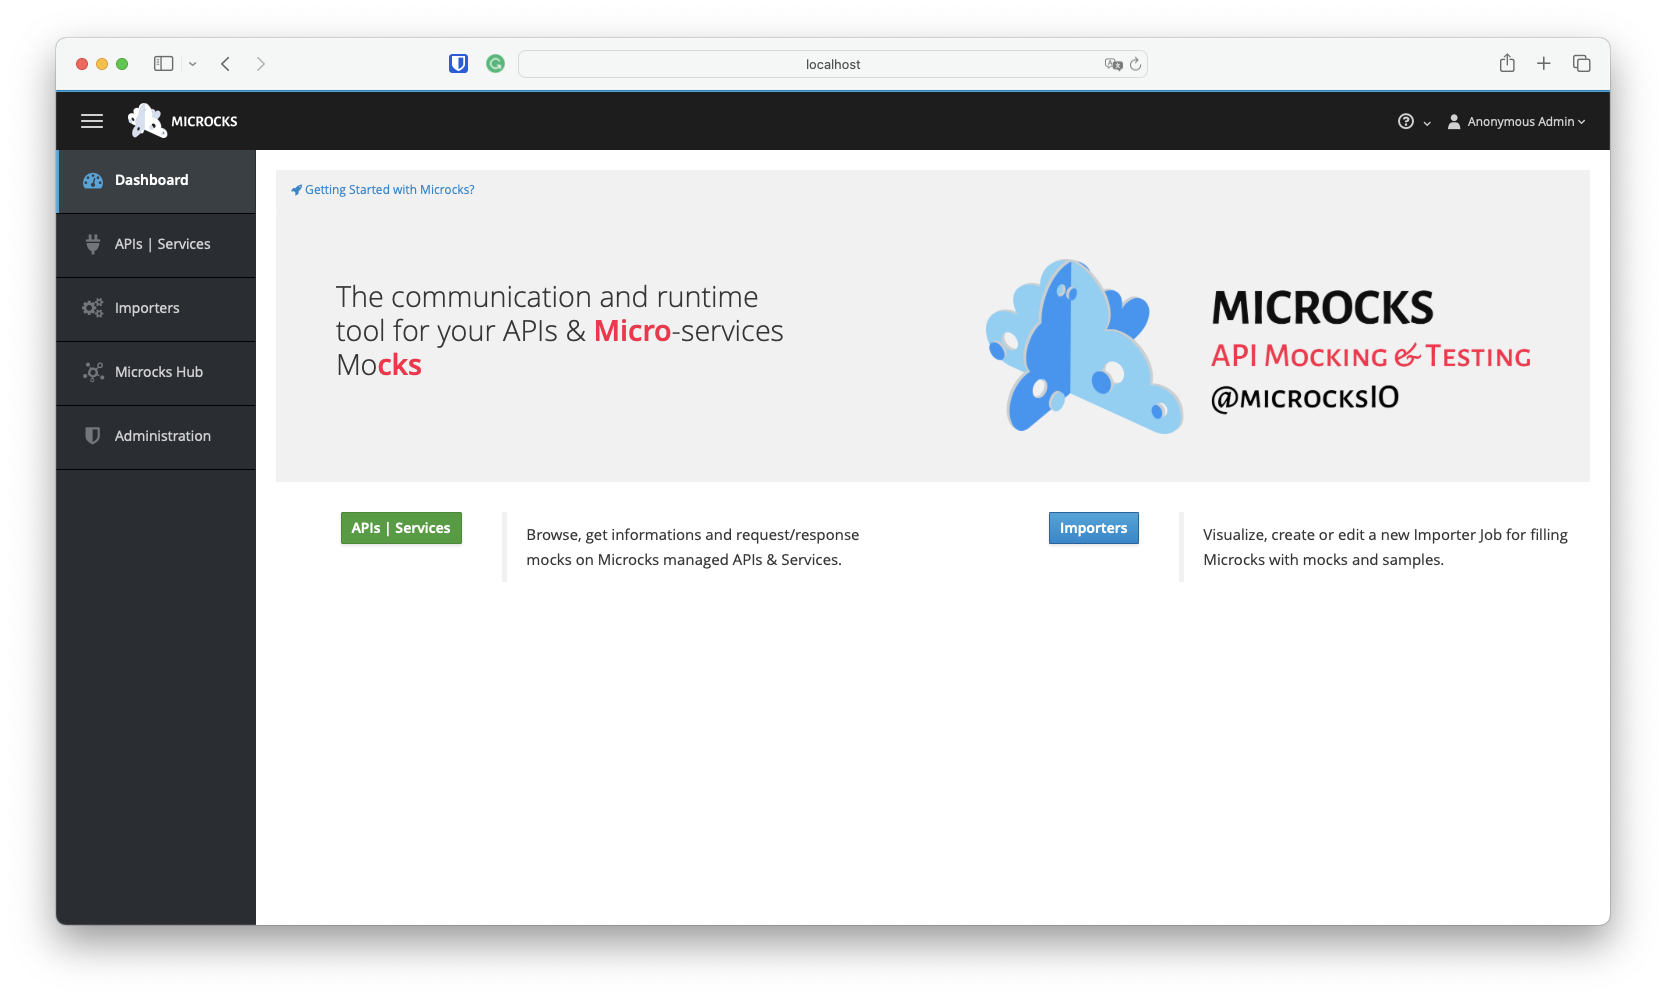
As you may have guessed :
- APIs | Services is for browsing your services and API repository, discovering and accessing documentation, mocks, and tests.
- Importers help you populate your repository by allowing you to define jobs that periodically scan your Git or simple HTTP repositories for new artifacts, parse them, and integrate them into your services and API repository. In fact, Importers help you discover both new and modified services.
Before using your own service definition files, let’s load some samples into Microcks for a test run!
Loading a Sample
We provide various samples that illustrate the capabilities of Microcks across different protocols. Samples can be loaded via Importers, as mentioned above, or via the Microcks Hub entry in the vertical menu on the left.
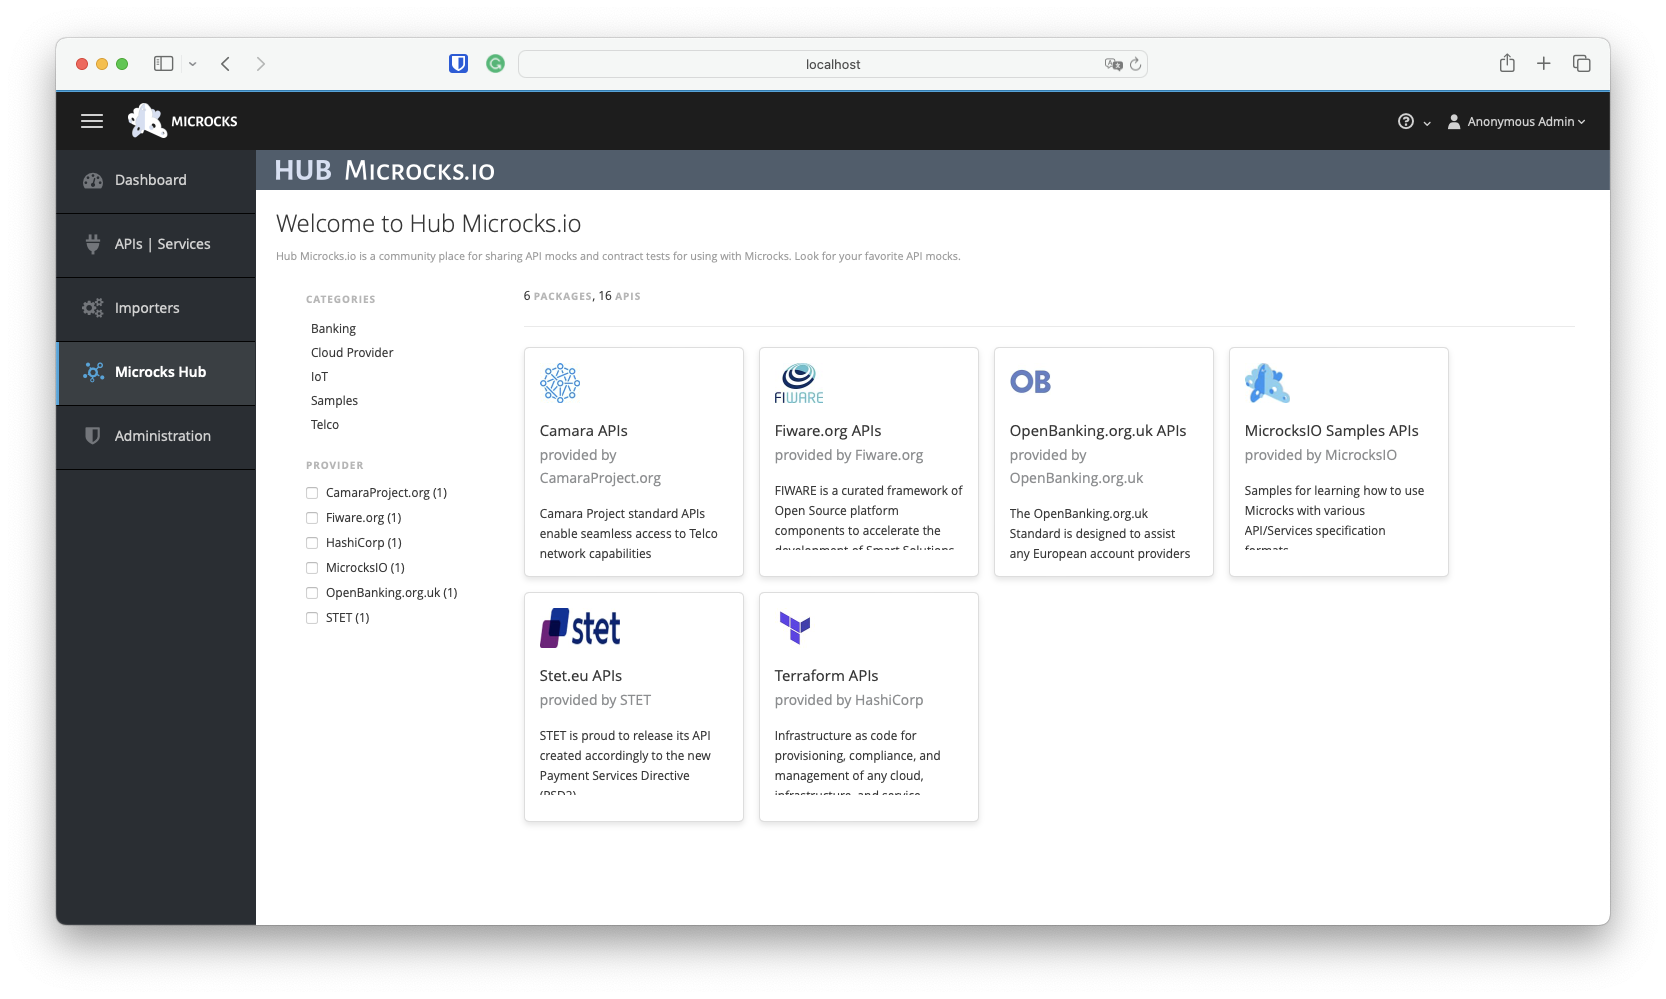
Among the tiles on this screen, choose the MicrocksIO Samples API tile, which will give you access to the list of available samples. To get started with Microcks, we will explore the Pastry API - 2.0, a simple REST API. Select it from the list of available APIs at the bottom right:
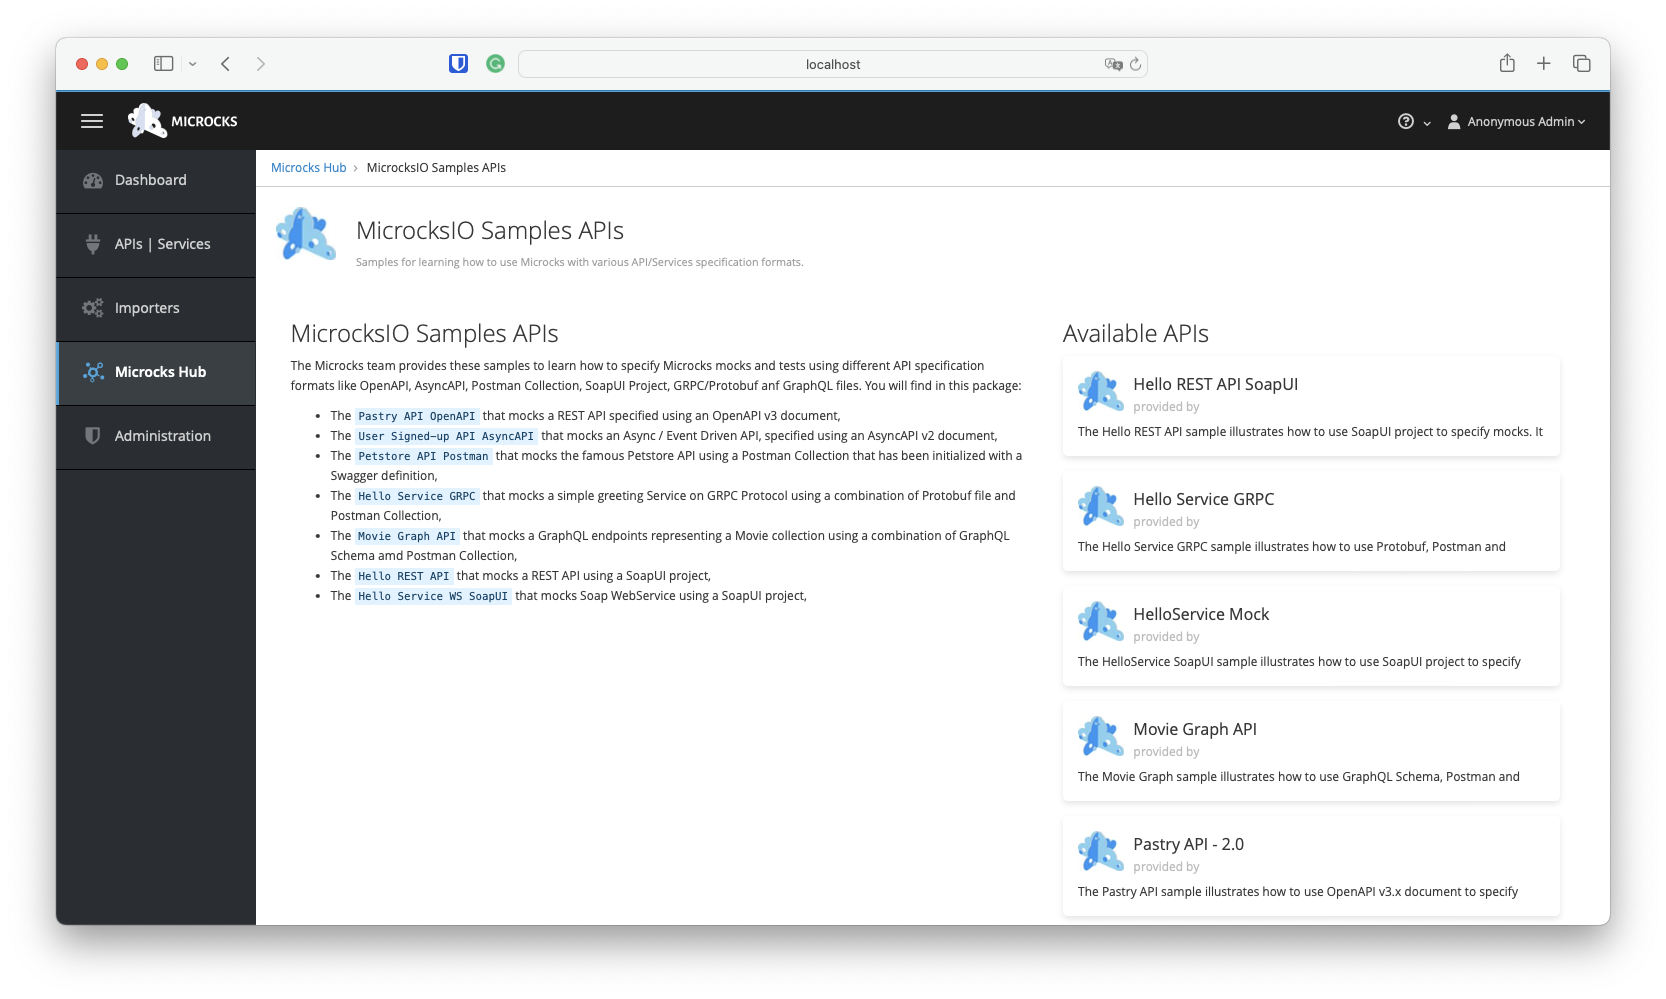
On the following screen, click the large blue Install button, where you will choose the + Direct import method.
Viewing an API
Once the import is complete, a new API will have been discovered and added to your repository. You should see the result below, along with two notification toasts in the top right corner.
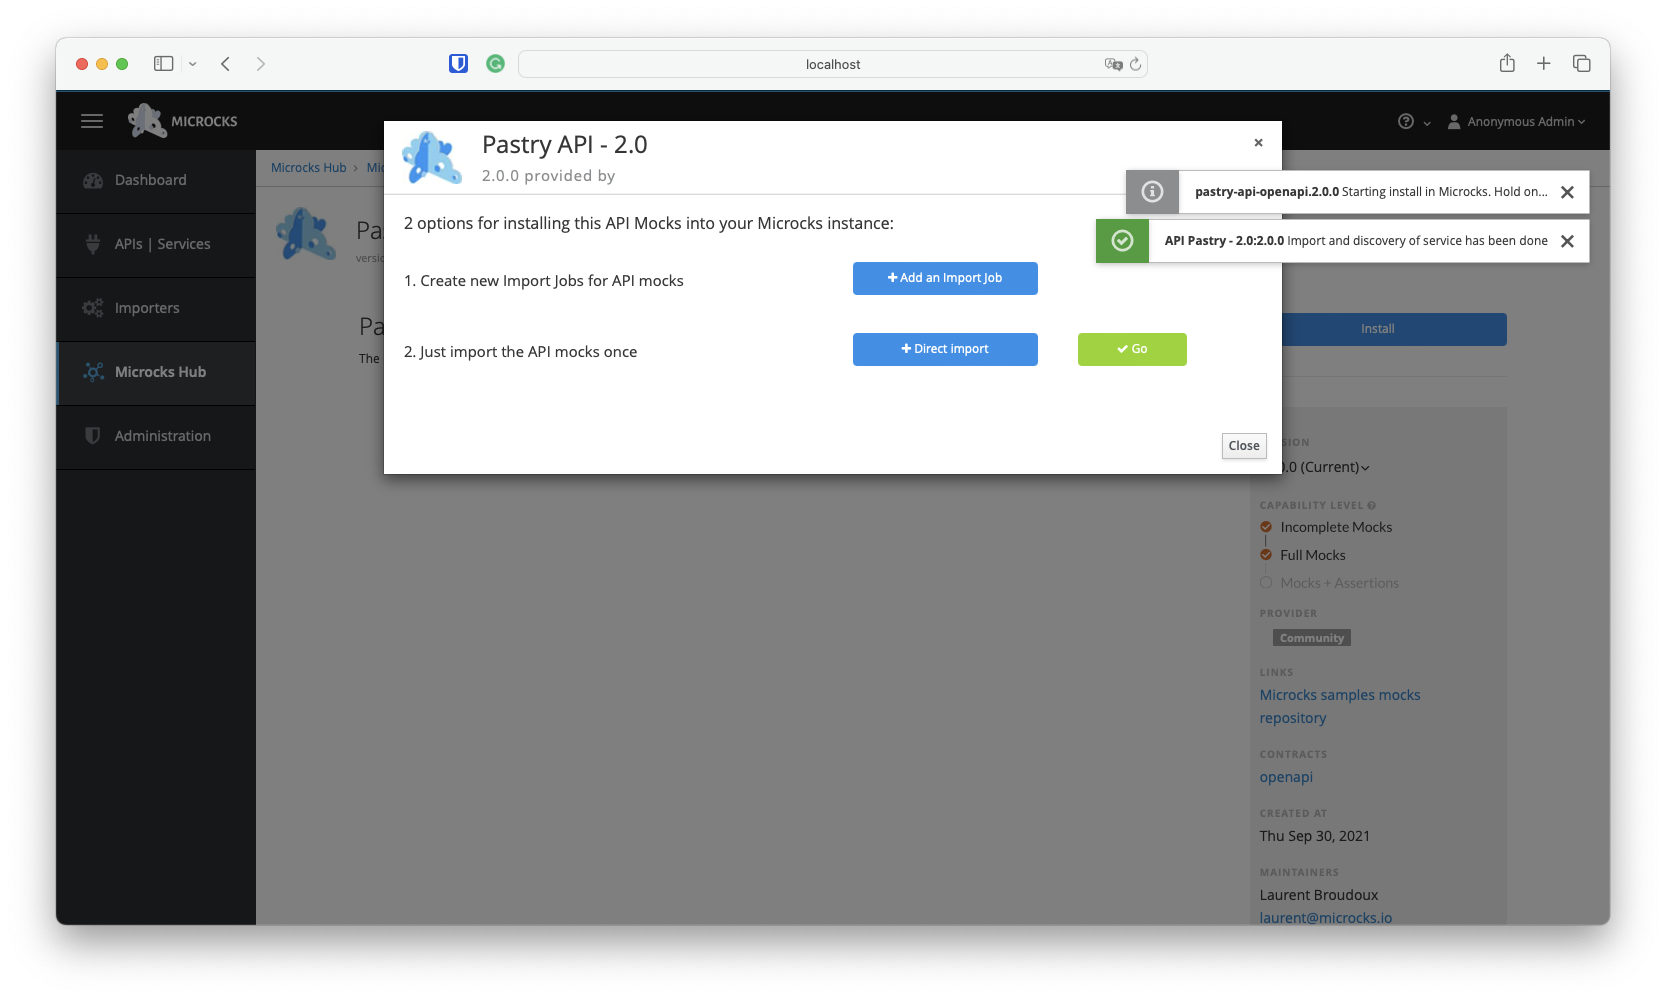
You can then click the green ✓ Go button—or visit the API | Services menu entry—to access the Pastry API - 2.0 details:
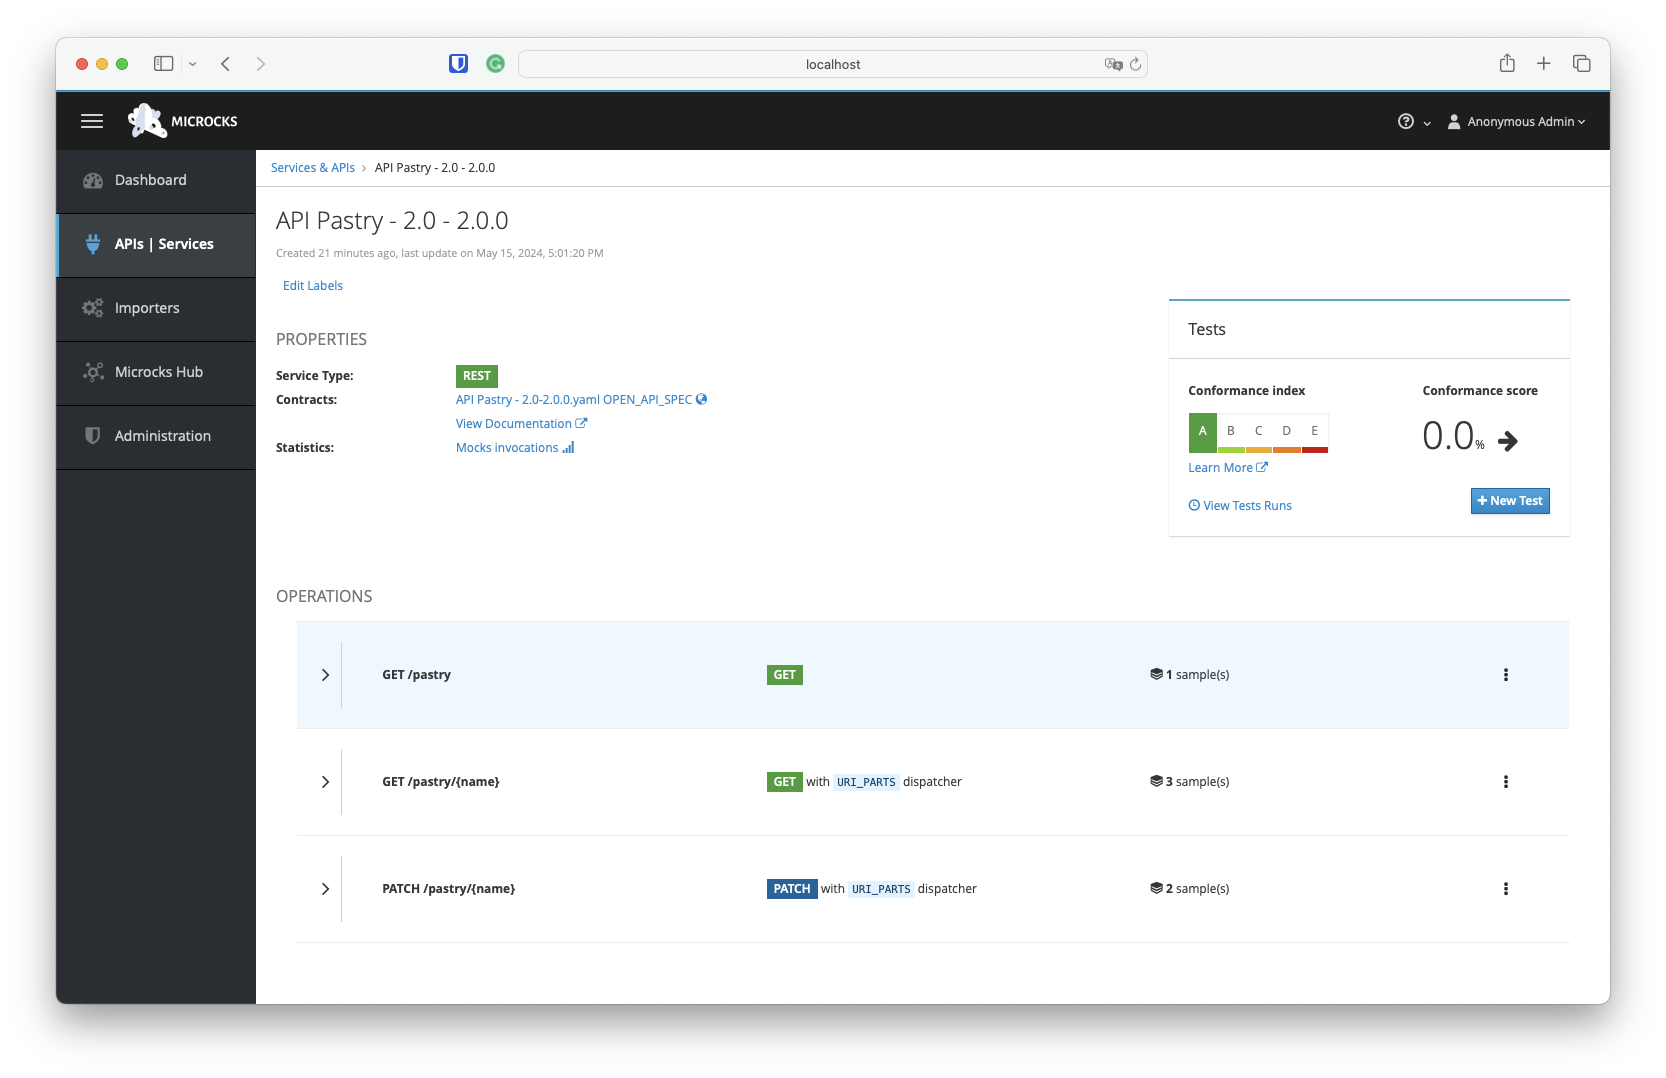
ou’ll be able to access the details, documentation, and request/response samples for each operation or resource in the screen below. One important piece of information is the Mocks URL field: this is the endpoint where Microcks automatically deploys a mock for the operation. The table below shows the request/response pairs and the full URL with the HTTP verb for invoking this mock.
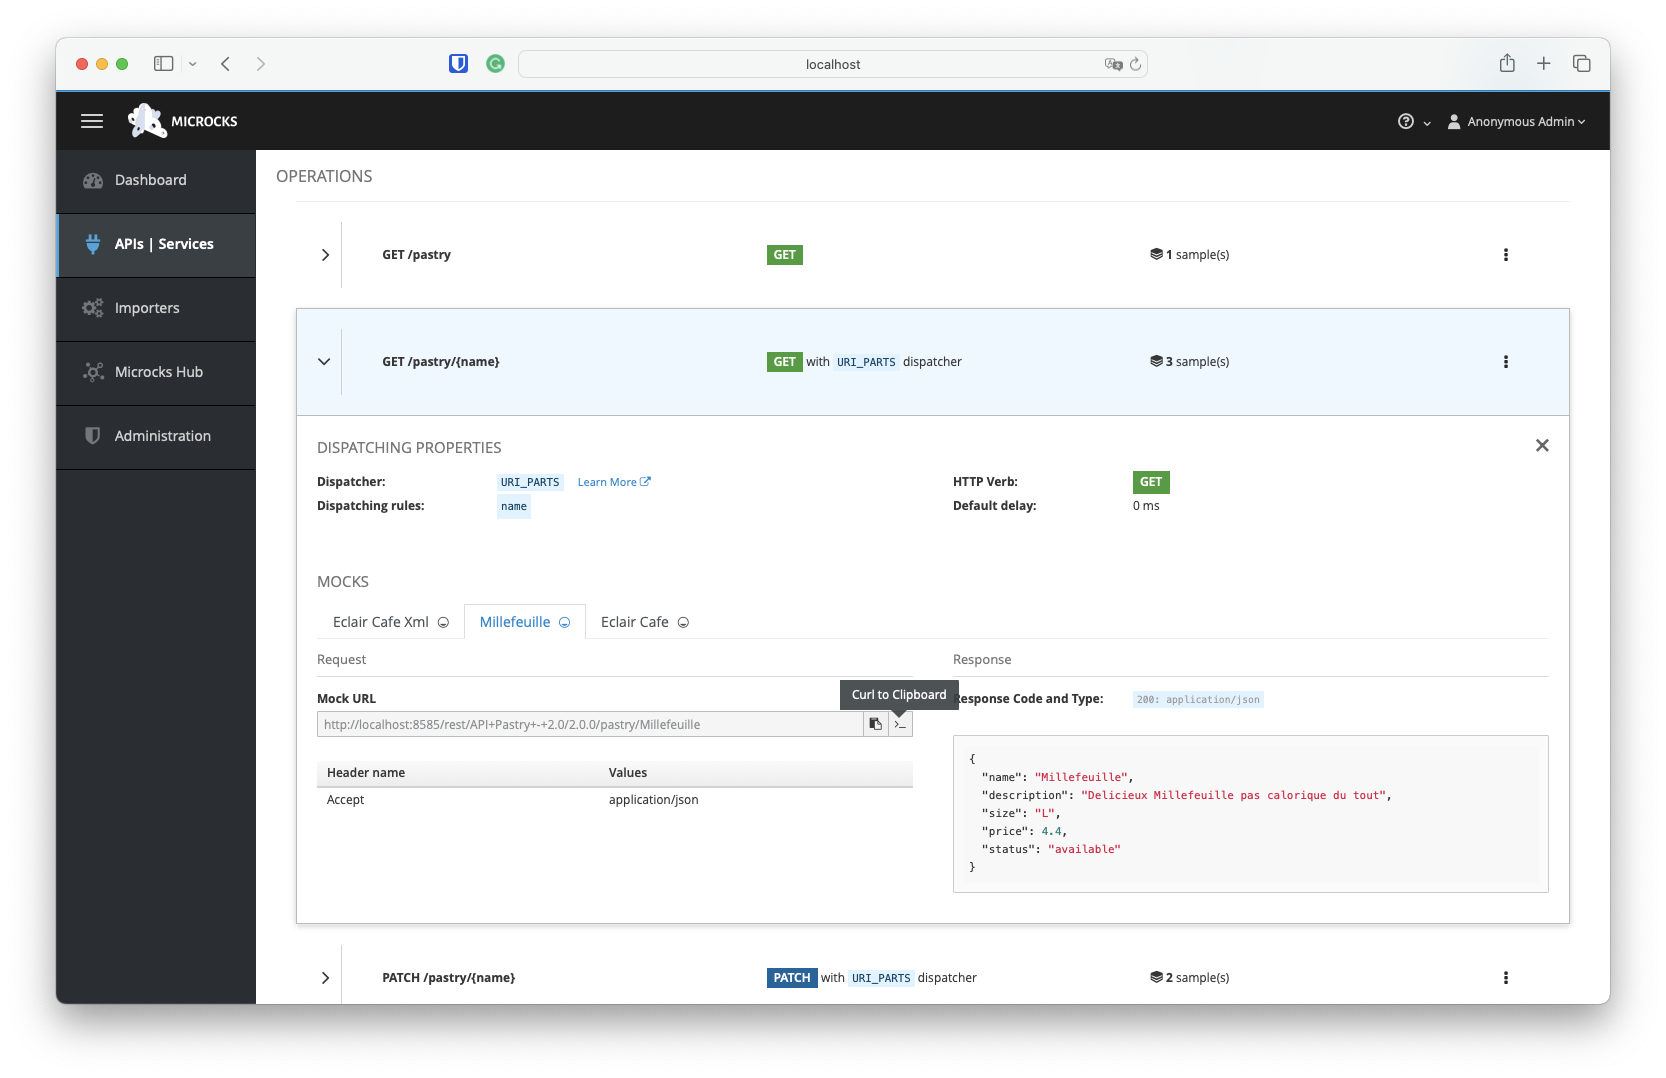
Interacting with a Mock
At the end of the Mock URL line, you’ll notice two icons. The first allows you to copy the URL to the clipboard, so you can use it directly in a browser, for example. The second provides a curl command to interact with the mocked API from the terminal. You can copy the URL for the Millefeuille example and try it in your terminal:
curl -X GET 'http://localhost:8585/rest/API+Pastry+-+2.0/2.0.0/pastry/Millefeuille' -H 'Accept: application/json'
{"name":"Millefeuille","description":"Delicieux Millefeuille pas calorique du tout","size":"L","price":4.4,"status":"available"}
Ta Dam! 🎉
{"name":"Millefeuille","description":"Delicieux Millefeuille pas calorique du tout","size":"L","price":4.4,"status":"available"}
What's next?
Now that you have the basic information on how to set up and use Microcks, you can proceed further with:
- Importing additional samples from MicrocksIO Samples API in the Microcks Hub.
- Continuing your tour with Getting started with Tests,
- Writing your own artifacts files and creating:
- Your first OpenAPI mock
- Your first GraphQL mock,
- Your first gRPC mock,
- Your first AsyncAPI mock with Kafka.