Step-by-Step Guide
Here, we will list the steps required to create a workflow in GitHub action with a single job and the following steps:
- Print your GitHub username and repository details
- Print another line with the text "Vale was installed on my machine"
-
Create a Workflow Directory In your repository, create a folder called
.github/workflows. This is where GitHub Actions looks for workflow filesmkdir -p .github/workflows -
Add a Workflow file Inside
.github/workflows, create a yaml file ( for example, print-repo.yaml)
 name: Simple Workflow to print my GitHub repository details

 on:
   push:
     branches:
       - main

 jobs:
   print-details:
     runs-on: ubuntu-latest
     steps:
     - name: Print my Github Name and repository details
       run: |
         echo "My Github Name is: ${{ github.actor }}"
         echo "My Repository Name is: ${{ github.repository }}"
         echo "My Repository Owner is: ${{ github.repository_owner }}"
     - name: Print vale Installation message
       run: echo "Vale was installed on my machine!"
Explanation
- Workflow Name: The workflow is named Simple Workflow to print my GitHub repository details.
- Trigger: The workflow runs on a push event to the main branch. You can modify the on section to trigger on other events (e.g., pull_request) if needed.
- Job: A single job named print-details runs on the ubuntu-latest runner.
- Steps:
- The first step uses the run command to print the GitHub username repository details via and the repository owner
- The second step prints the message "Vale was installed on my machine" using the echo command.
- Steps:
-
Commit and Push Add and commit your workflow file
  git add .github/workflows/print-repo.yml
  git commit -m "Add CI workflow"
  git push
Once pushed, GitHub automatically runs the workflow.
-
View the workflow in your repository
- Go to Actions tab on GitHub
- Select your workflow
- Watch it run in real time or check its status if it has completed
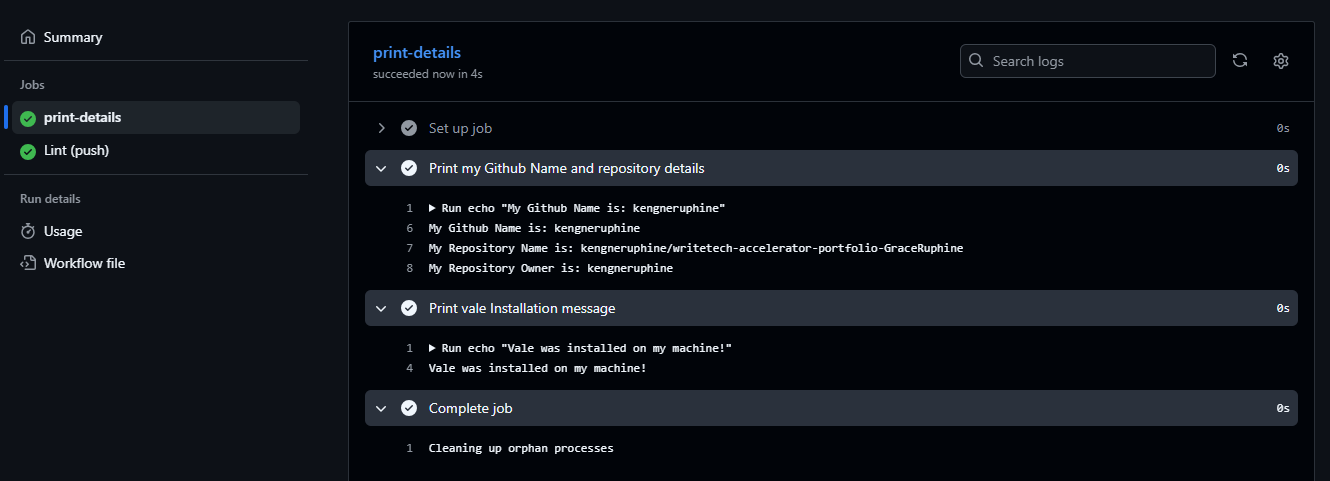
From the image above, we see that our workflow has ran successfully to completion, printing the details we wanted.